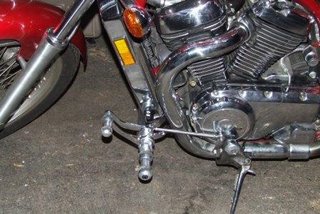
Feeling ever so confident following my two successes, I decided to go for it: The installation of new forward controls. For those not in the know, motorcycles require drivers to use both hands and both feet while driving. The left hand operates the clutch, the left foot is used to shift gears, the right hand operates the front brake and the right foot operates the rear brake. To make things more interesting, drivers are supposed to use the front brake for about 70% of the stopping power, and the rear brake for about 30% of the stopping power. Needless to say, there is significant coordination required to drive. Forward controls move the foot controls (i.e., shift lever and rear brake pedal) forward from their stock position. This allows the driver to sit in a more relaxed position, with legs out forward rather than straight down. The relocation of the controls is accomplished using new hardware that mounts to the engine and/or frame forward of the stock foot peg. The new controls are hooked up to the shifting spline and rear brake assembly using rods. The installation and hooking up of the parts themselves is not terribly complex, but removing the old stock parts was rather challenging. It went something like this…
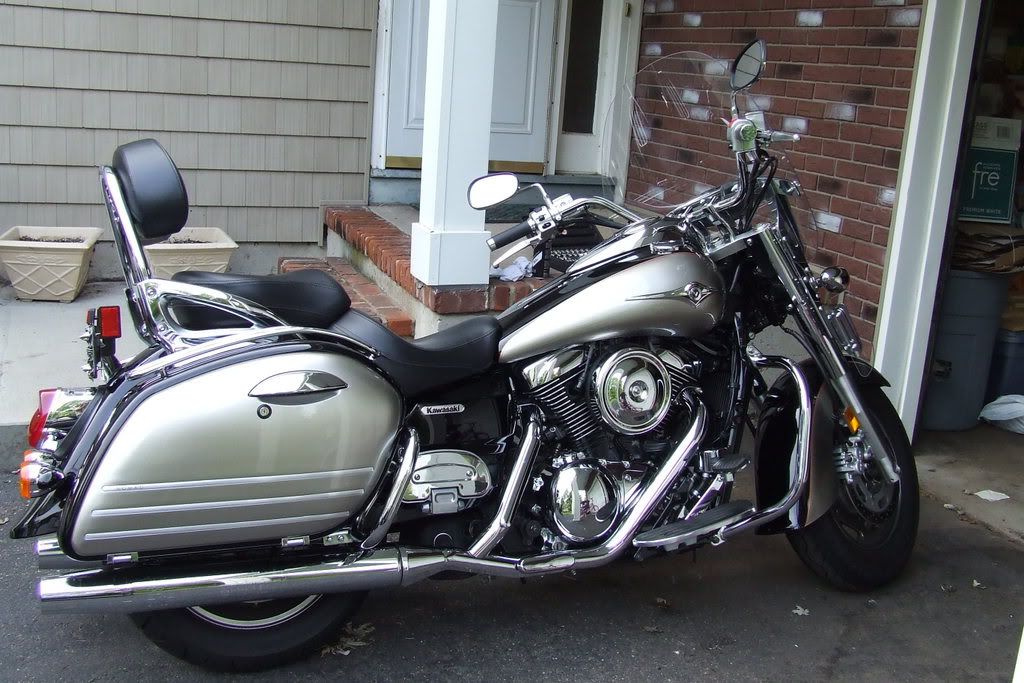
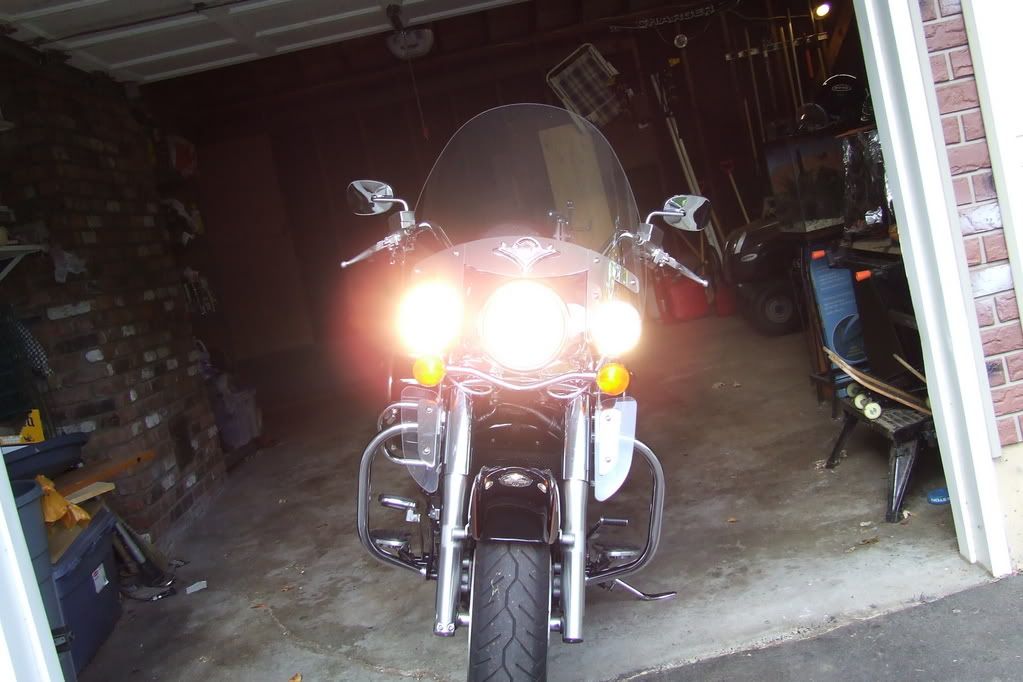
For starters, it was necessary to get the bike to stay up on its own (that is, without the use of the kickstand since the kickstand is attached to the foot peg bracket which must be removed). So, I put the bike half in and half out of the garage, then used rope to tie it to a couple of existing eye-hooks the previous owner had installed in the garage. They are strategically located one on the middle section of the garage and one on the side wall. Before making the final knots, I used a small car ramp (the kind you use when changing the oil in the car) and put the front wheel up on the ramp. This gave me more clearance under the bike to work. So far, so good.
Step one involved removing the existing foot peg mounting bracket. This assembly contains the stock foot pegs and the rear brake pedal and assembly. It is held in place with eight bolts, four of which have retaining clips in them to ensure they won’t fall out even if they get loose. I removed those clips and saved them for re-installation. I then unscrewed the bolts until they were almost out. I used a heavy cardboard box underneath the bracket so the bracket wouldn’t drop to the floor when the last bolt was removed. This is important because the kickstand contains a safety switch (if you put the bike into gear with the kickstand down the engine is killed) and that switch has a wire going to it that would be potentially ripped if the foot peg bracket dropped all the way to the floor. In order to get more slack in the switch wire, I removed a chrome cover which concealed more of the wire. It was wrapped up a bit with a flex tie, so I un-wrapped it and poof… more slack.


The next issue was the rear brake cable. This is attached to the rear brake pedal assembly which is, of course, attached to the foot peg bracket. The cable doesn’t have a lot of slack, so I couldn’t just drop the foot peg assembly, despite having slack in the switch wires. I was able to loosen the a cable mounting both and give myself the needed flexibility.
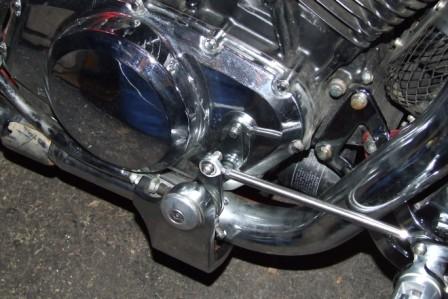
At this point, I decided to install the shift side forward hardware (left side). This required me to remove the left side exhaust pipe from the engine. Two bolts hold a flange in place, and once removed, the pipe pulls right out of the engine. There is a special gasket in there that should not be re-used, so luckily I had pre-ordered replacements and had them handy. With the exhaust pipe out of the way (it is not necessary to remove it from the muffler… just swing it down out of the way but don’t pull it out of the muffler connector) I could reach the two engine mounting bolts and remove them. The engine isn’t going anywhere, even with these two removed, so no worries there. I installed the left side forward control hardware using the supplied new bolts and spacers. I tightened those down but not completely. Then, I removed the stock shift side foot peg from the bracket and installed the supplied cover (which simply conceals the hold where the stock foot peg used to be). I then removed the stock shift lever by removing the clamp bolt completely. It just jiggled right off the spline. I mounted the new shift lever bracket and control arm onto the existing shift spline and tightened it down. I put about a 15 degree forward tilt on it to ensure I could upshift cleanly. I then connected the control arm to the forward control hardware, mounted the new foot peg and shifter peg and poof, shifter side was done. Just a note… I had to make sure the exhaust flange was far enough up the exhaust pipe to allow it to be re-installed. If it’s too far down the pipe, I wouldn’t be able to slide it back up to the engine because the new controls would be in the way. Just an “order of operations” note.
Now it was time for the hard part. I had to somehow get the old rear brake pedal off of the foot peg bracket so I could replace it with the new one. It seemed like it would be difficult, because there are a few components in there – things that pivot and lots of linkages. However, after some pondering and understanding of how it worked, it was a piece of cake. First, I removed the old foot peg from the bracket and installed the supplied cover (which simply conceals the hold where the stock foot peg used to be). I removed the cotter pin that holds the rear brake lever cap in place and remove the cap. I then removed the brake light stop screw completely. The next piece to remove is the cotter pin that holds the upper linkage to the brake pedal. Once the cotter pin is out, the pin slides right out. I was then able to remove the stock brake pedal and return spring. I immediately picked up the new brake control and installed the spring (I didn’t want to get disoriented and forget which way it goes – though after a little more pondering it was clear that it could really only be installed one way), then placed the new brake control onto the shaft on the foot peg bracket. I then re-installed the pin that connects the linkage to the new brake control and inserted a new cotter pin (don’t re-use cotter pins…). I reinstalled the brake light stop screw, the brake lever shaft cap and a new cotter pin and poof…brake side was done.
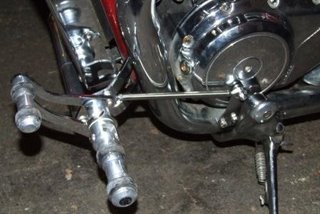
From here, I removed the right side exhaust using the same procedure as the left side, and installed a new gasket. I removed the two long bolts from the engine and mounted the right side forward control hardware. I took care because these bolts are different lengths and have to be installed in the correct place. I then installed the main bar that goes in front of the radiator and connects the left and right side forward control hardware. Once all of that was connected, I tightened down all of the bolts for the forwards and the main connector piece and re-installed the exhaust pipes.
So what is left? Just a couple of things: The brake side control arm had to be hooked up to the right side forward control, and the foot peg bracket had to be re-installed from under the bike. I wanted to wait for the foot peg bracket to be installed before connecting the brake linkage. The re-installation of the foot peg bracket sounds like it should be easy, but it was not. It does sort of snap up into place, but the bolt holes don’t line up so easy. It took about 30-45 minutes of trying and trying before I was finally able to get it to line up. I re-installed the four inner (clipless) bolts and the 4 outer (clipped) bolts. I reinstalled the retaining clips in the outer bolts. I then hooked up the brake side control arm to the forward control. I re-installed the rear brake cable cover and the bolt that I had removed that gave me some slack. On the shifter side, I re-wrapped up the kickstand kill switch wires and re-installed the cover. That was pretty much it. It took a long time, but I learned a lot in the process.
I started up the bike and make sure I could cleanly shift both up and down, and verified the brake light worked when I stepped on the rear brake pedal and went off when I took my foot off the pedal. So far, so good.